Lesson 01 — Making with Many Materials
Learners explore several materials — paper, chalk, and loose found parts — and discover that any material can become art. Every mark they make is theirs.
Objectives
Objectives
- D07.S1.K.01 Create art with different materials and describe what they made.
Essential question
What can I make with the materials around me?
Key vocabulary
Materials
Standard materials
- Paper (scrap or fresh) · several sheets per learner Any paper, including reused backs
- Crayons, pencils, or chalk · per learner
- A small tray of loose parts · 1 set Leaves, bottle caps, cloth scraps, string, small sticks
Low-tech / no-cost
- A stick or finger Draw in sand, soil, or dust; no paper needed
- Found natural bits Leaves, stones, petals, grass — arranged into a picture on the ground
Enriched / lab & device
- A texture box · 1 set Fabric swatches, foil, sandpaper, cotton, bubble wrap for rubbing and pasting
- Washable paint and brushes · per group Tempera or watercolor paints for a second material to explore
Works in different contexts
- large-group Set out shared trays of materials around the circle so every learner can reach without crowding; call out one material at a time to explore together
- multi-age Older learners can model holding scissors or tearing clean edges while younger learners focus on marking and pressing; pair a guide with a maker
- self-directed A learner chooses three materials, makes whatever they want, and talks or points through what they did at the end
- level-grouped Group by comfort with tools — some stick to finger and chalk, others add scissors or glue — then rotate so everyone tries a new material
- outdoor-only Use what the ground offers — sand, mud, leaves, sticks, pebbles — to build and mark a picture right where you are
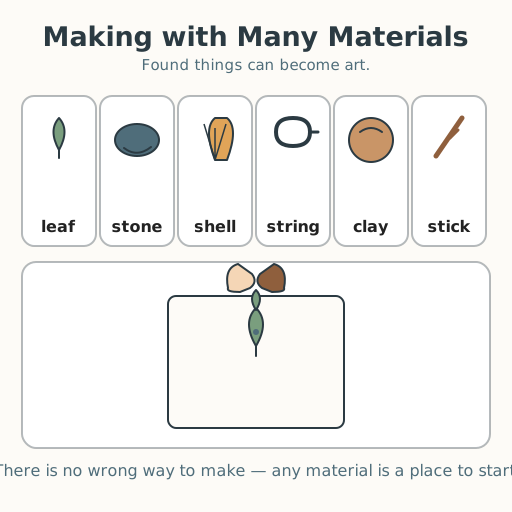
Lesson 1 — Making with Many Materials
Summary
Learners meet many materials and discover that anything — paper, chalk, leaves, or string — can become a picture or a shape. They explore freely, then share what they made. The point is the making, not a “perfect” result.
Objectives
- Create art with different materials and describe what they made. (D07.S1.K.01)
Connection
Think of the last time you drew in the sand with a stick, or made a mark with your finger on a steamy window. People everywhere make things from what is around them — paper, clay, cloth, shells, leaves. Your hands can turn almost anything into a picture or a shape.
Materials
- Paper (scrap or fresh)
- Crayons, pencils, or chalk
- A tray of loose parts: leaves, bottle caps, cloth scraps, string, small sticks
Preparation
- Gather materials into easy-to-reach trays or piles.
- Make space to sit and make, at tables or on the floor.
Facilitator note
This lesson is written to the learner (“you”) so it works in a classroom and for a self-directed learner. As facilitator, protect the freedom: there is no right way to use a material. Praise effort and curiosity, not “correctness.” Some learners will not want to talk about their work — that is fine; pointing or showing is enough.
Procedure
- Gather (5 min). Sit with the materials. Look at each one: paper, crayon, leaf, string. Touch them. Which feels smooth? Which feels bumpy?
- Try one material (10 min). Pick one material and make something with it — a mark, a line, a pile, a shape. There is no wrong way to use it.
- Try a second and third material (15 min). Swap materials. What happens when you press a leaf onto paper, or lay string in a circle? Make something new with two materials together.
- Share (10 min). Show a friend or grown-up what you made. You can say what it is, or just point to your favorite part.
- Close (5 min). Remember: any material can become art, and everything you make is yours.
Differentiation
- Support: Offer just two materials and model one simple mark (“I made a line; now you try”).
- Extension: Invite learners to combine three materials into one piece and name the feeling of each texture.
Assessment
- Formative (observation): Does the learner handle more than one material and make a mark or shape?
- Artifact (portfolio): The learner’s piece (or a photo of it) kept in the portfolio.
Home connection
Ask a grown-up at home: “What can we find around the house to make art with?” Make one small thing together from what you find.