Lesson 02 — Describing What I Made
Learners look at what they made and describe it — with words, or by pointing to a color, shape, or line. Describing deepens their looking and honors every piece.
Objectives
Objectives
- D07.S1.K.01 Create art with different materials and describe what they made.
Essential question
How do I tell someone about what I made?
Key vocabulary
Materials
Standard materials
- The learner's own artwork (from Lesson 1 or fresh) · 1 per learner Any piece the learner made
- Paper and crayons · per learner
- A turn marker · 1 Any small object — a stone, a shell, a soft ball — that shows whose turn it is
Low-tech / no-cost
- The artwork and a voice or hand Describe aloud or point; no extra supplies needed
- A friend or grown-up to listen A listening partner is the only "material" required
Enriched / lab & device
- A photo or tablet of the artwork · 1 per pair Photograph the piece and zoom in on one part to describe together
- Word-and-picture cards · 1 set Cards showing shape, color, and line words (circle, red, wavy) to point to
Works in different contexts
- large-group Use a gallery walk — everyone sets their piece out and takes turns standing by their work while the group notices one thing about it
- multi-age Pair a younger and older learner; the older asks gentle questions ("What is this part?") and the younger answers or points
- self-directed A learner looks at their own piece and tells it to a mirror, a toy, or a recording, naming one color and one shape
- level-grouped Group by how much language the learner uses — some name one word, others tell a whole story — and match the prompting to each
- outdoor-only Describe a piece made from natural things by pointing to its parts on the ground and naming colors and shapes found in nature
Lesson 2 — Describing What I Made
Summary
Learners revisit their own artwork and practice describing it. They name what they see — a color, a shape, a line — and tell a little of the story behind it. Pointing counts as describing; art does not require words.
Objectives
- Create art with different materials and describe what they made. (D07.S1.K.01)
Connection
When you make something and show it to someone, they might ask, “What is it?” or “Tell me about it.” Describing your work helps them see it the way you do. Even pointing to a part and saying “red” or “round” is a way of sharing your making.
Materials
- Each learner’s own artwork (from Lesson 1 or made fresh)
- Paper and crayons
- A turn marker (a stone, shell, or soft ball to show whose turn it is)
Preparation
- Gather or finish each learner’s artwork.
- Arrange a circle with a turn marker for sharing time.
Facilitator note
This lesson is written to the learner (“you”) so it works in a classroom and for a self-directed learner. As facilitator, model describing with the same gentle, non-judging words you want to hear: “I see a blue circle and a long line.” Never ask “what is it supposed to be?” — instead ask “what do you see?” or “tell me about this part.” Honor pointing and gestures as full answers. Learners who cannot see may describe their piece by touch and feel — rough or smooth, big or small, round or straight — and that is full describing too.
Procedure
- Gather (5 min). Sit with your artwork in front of you. Look at it slowly. What do you notice first?
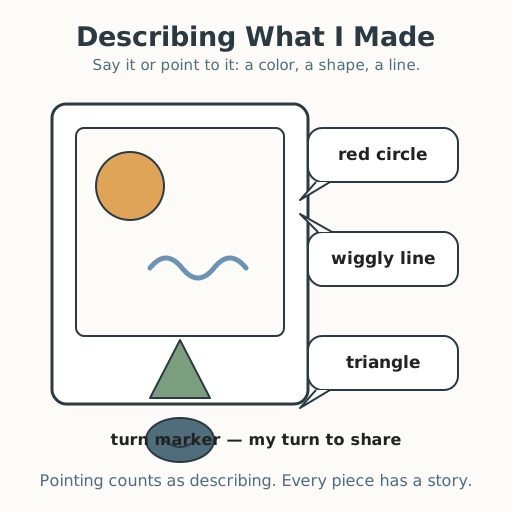
- Look closely (10 min). Find one color, one shape, and one line in your piece. Say each one, or point to it: “red,” “circle,” “wiggly line.”
- Tell its story (10 min). Think: what were you doing when you made it? What does this part make you think of? You can say a whole story or just one word.
- Share with a partner (15 min). Take turns. Hold the turn marker while you describe your work; listen while your partner describes theirs.
- Close (5 min). Remember: every piece has a story, and describing it — with words or by pointing — helps others see it your way.
Differentiation
- Support: Offer a single prompt (“find one color”) and accept pointing as the answer.
- Extension: Invite learners to describe a friend’s artwork and notice something the maker might not have said.
Assessment
- Formative (observation): Can the learner point to or name one color, shape, or line in their own work?
- Artifact (portfolio): The artwork paired with a one-sentence (or drawn) description.
Home connection
Show someone at home one thing you made and tell them about one color and one shape in it. Ask them what they notice, too.